The Cooling Workhorse: Deep Dive into the Danfoss NL7.3FT Compressor
Technical Specifications: Danfoss NL7.3FT Compressor
| Feature | Detail |
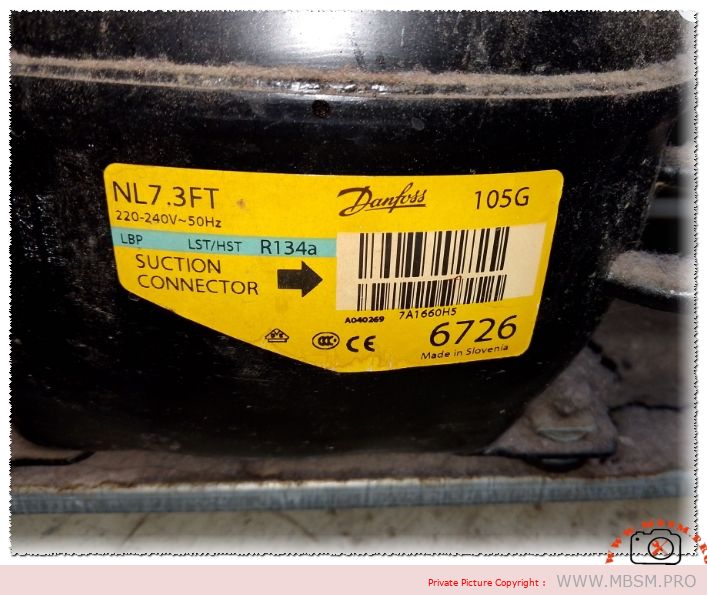
| Model | Danfoss NL7.3FT (Code: 105G6726) |
| Utilisation | LBP (Low Back Pressure) |
| Domaine | Freezing / Cold Storage |
| Cooling Wattage at -23.3°C | 185 Watts |
| Kcal/h | 159 Kcal/h |
| Oil Type and Quantity | Ester (POE), 320 cm³ |
| Horsepower (HP) | 1/4 HP (Approx. 0.25 HP) |
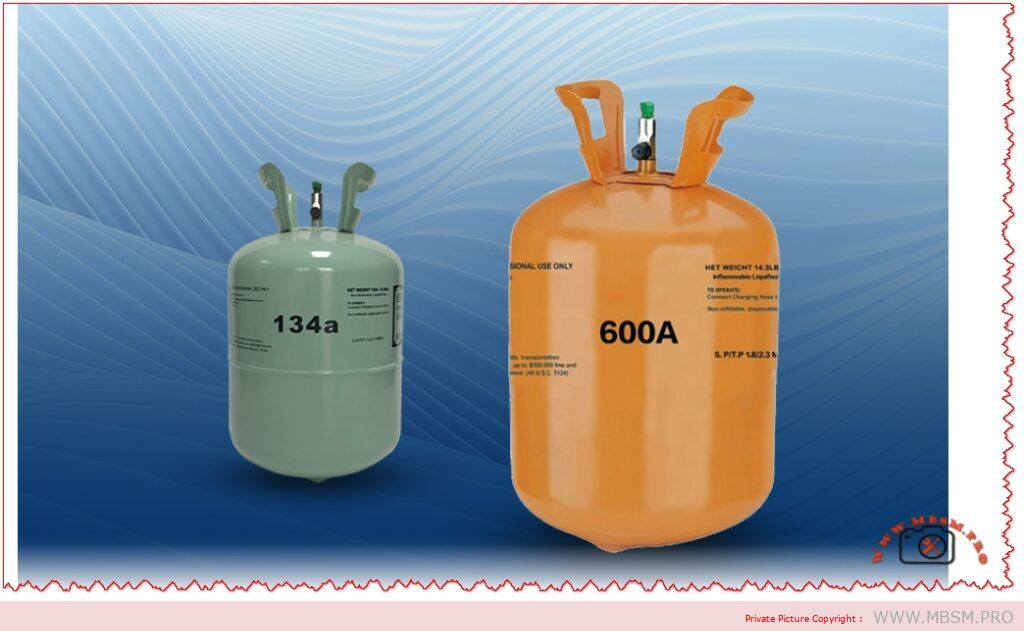
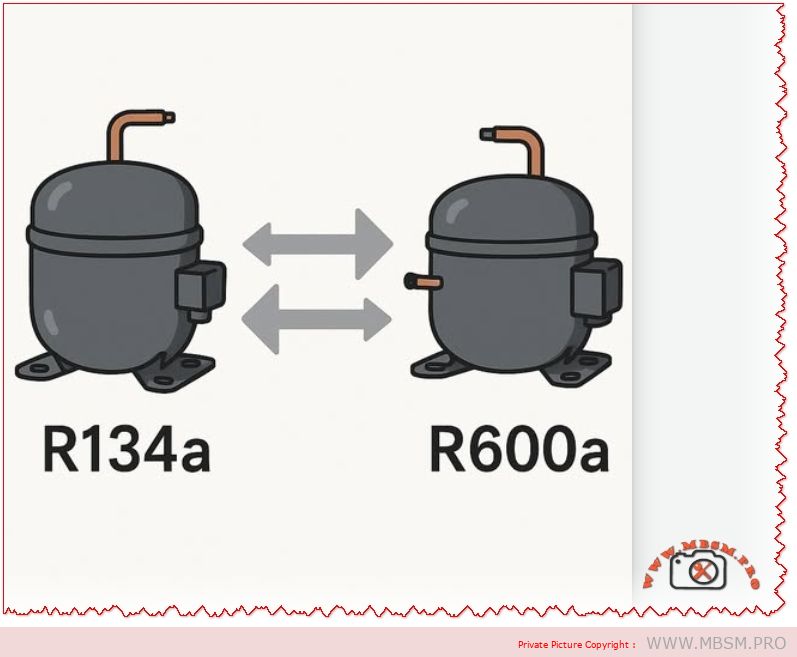
| Refrigerant Type | R134a |
| Power Supply | 220-240V / 50Hz / 1Ph |
| Cooling Capacity BTU | 631 BTU/h |
| Motor Type | RSIR/CSIR (High Starting Torque capability) |
| Displacement | 7.27 cm³ |
| Winding Material | Copper |
| Pressure Charge | Low side (Suction) |
| Capillary | 0.031″ – 0.036″ (Size varies by application) |
| Compatible Refrigerators | Whirlpool, Indesit, Ariston, Domestic Chest Freezers |
| Temperature Function | -35°C to -10°C |
| With Fan or No | Static or Fan-assisted (Usually Static in domestic) |
| Commercial or No | Domestic and Light Commercial |
| Amperage (FLA) | ~1.1 A to 1.3 A |
| LRA (Locked Rotor Amps) | 9.2 A |
| Type of Relay | PTC or Electromagnetic |
| Capacitor | Optional (80 µF for CSIR start) |
Compressor Cross-Reference & Replacements
Same Refrigerant (R134a)
- Embraco NEK2125GK / FFI8.5HAK
- Secop TLES7.5FT.3
- Tecumseh AEZ1380Y
- ACC / Cubigel GL80AA / GL80AB
- Huayi HYB81MHU
Alternative Refrigerants (R600a/R290)
- Embraco EMT6170Z (R404A conversion)
- Secop NLE8.8CN (R290 – High Efficiency)
- Embraco VEMZ 9C (R600a Inverter upgrade)
- Donper KK73FT (R134a direct clone)
- Jiaxipera NT1114Y (R600a equivalent cooling)
Mbsmpro.com, Compressor, Danfoss, NL7.3FT, 1/4 hp, Secop, Cooling, R134a, 185 W, 1.3 A, 1Ph 220-240V 50Hz, LBP, RSIR, -35°C to -10°C, Freezing
The refrigeration industry relies heavily on the reliability of the heart of the system: the compressor. Among the elite performers in the domestic and light commercial sector, the Danfoss NL7.3FT stands out as a robust, European-engineered solution. Transitioning from the legacy Danfoss brand to Secop, this model remains a staple for technicians who demand durability and high thermal efficiency in low-temperature environments.
Efficiency Metrics (COP) & Performance Data
| Evaporating Temp (°C) | Cooling Capacity (Watts) | Power Consumption (Watts) | COP (W/W) |
| -35 | 108 | 135 | 0.80 |
| -30 | 145 | 158 | 0.92 |
| -23.3 | 185 | 184 | 1.01 |
| -20 | 225 | 205 | 1.10 |
| -15 | 295 | 230 | 1.28 |
| -10 | 380 | 255 | 1.49 |
Engineering Insight: Why the NL7.3FT?
As an engineer in the field, I’ve found that the NL7.3FT excels because of its internal suspension system. Unlike cheaper alternatives that vibrate excessively and cause copper fatigue, the Danfoss “NL” series uses a refined valve plate design that reduces noise while maintaining high volumetric efficiency.
When comparing it to the Embraco FFI series, the Danfoss NL7.3FT often shows a more stable performance under fluctuating voltage (220-240V range). It is specifically designed for LBP (Low Back Pressure), making it the ideal candidate for deep freezers where the goal is to reach -23°C quickly and hold it with minimal energy consumption.
Field Notes & Expert Advice
- Capillary Cleaning: If you are replacing a burnt-out NL7.3FT, always flush the system with R141b. R134a systems are prone to paraffin wax buildup in the capillary tube.
- Oil Management: This unit uses POE oil. Avoid leaving the suction ports open for more than 10 minutes, as POE oil is highly hygroscopic (it absorbs moisture from the air instantly).
- The LST/HST Factor: While rated for Low Starting Torque, adding a start capacitor (80µF) can convert this into a High Starting Torque unit, which is a lifesaver in regions with unstable power grids.
Focus Keyphrase: Danfoss NL7.3FT Compressor R134a 1/4 HP Low Back Pressure Refrigeration
SEO Title: Mbsmpro.com | Danfoss NL7.3FT Compressor | 1/4 HP R134a LBP Technical Specs
Meta Description: Discover the full technical specifications of the Danfoss NL7.3FT compressor. Learn about its cooling capacity, 185W output, R134a compatibility, and cross-reference replacements for professional refrigeration repair.
Slug: danfoss-nl7-3ft-compressor-r134a-1-4-hp-specs
Tags: Mbsmgroup, Mbsm.pro, mbsmpro.com, mbsm, Danfoss NL7.3FT, Secop 105G6726, 1/4 HP Compressor, R134a LBP, Embraco NEK2125GK Replacement, Fridge Compressor Repair, NL7.3FT Specs, HVAC Engineering.
Excerpt: The Danfoss NL7.3FT is a high-performance LBP compressor designed for R134a refrigerant, delivering 185 Watts of cooling capacity at -23.3°C. Ideal for domestic freezers and light commercial units, this 1/4 HP motor offers exceptional reliability and low noise levels, making it a favorite for professional technicians and refrigeration engineers globally.